Image Hotspots
When you wish to display images within the scene, you may use image hotspots.
There are two types of image hotspots:
- Image
- Image with Text
Image Hotspot
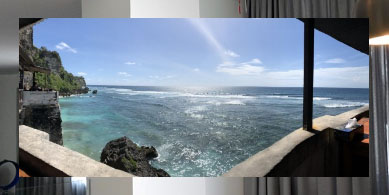
When viewers interact with the image hotspot, an image appears at your chosen point. This image closes when the viewer clicks on it, or anywhere in the scene.
To create an image hotspot:
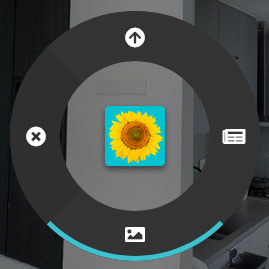
- Right click anywhere on the scene to open the Hotspot Menu.
- Click on the Image Hotspot icon.
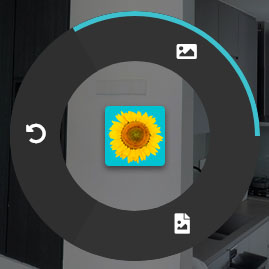
- The image hotspot menu will appear. Click on the Image Hotspot icon.
- The image hotspot upload window will appear.
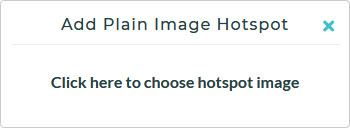
- Click on the text in the center to choose a file from your computer.
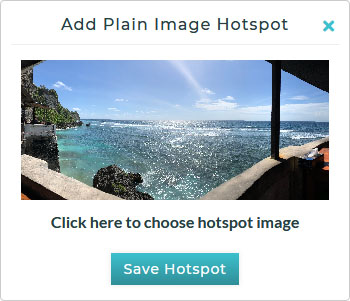
- Click on the Save Hotspot button when you are done.
Image with Text Hotspot
Sometimes, you would wish to display textual information along with an image on the scene. To do so, you may create an Image with Text Hotspot.
To create an image with text hotspot:
- Right click anywhere on the scene to open the Hotspot Menu.
- Click on the Image Hotspot icon.
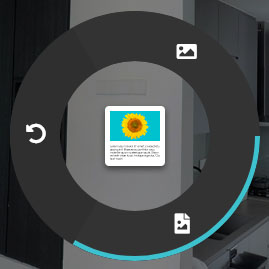
- The image hotspot menu will appear. Click on the Image with Text Hotspot icon.
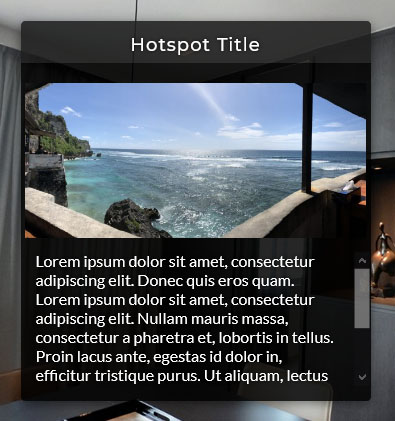
- The image with text hotspot window will appear, and you may enter a title and text description, as well as uploading an image.
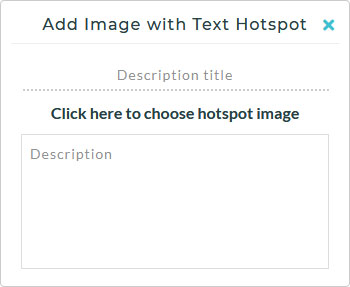
- Click on the text in the center to choose a file from your computer.
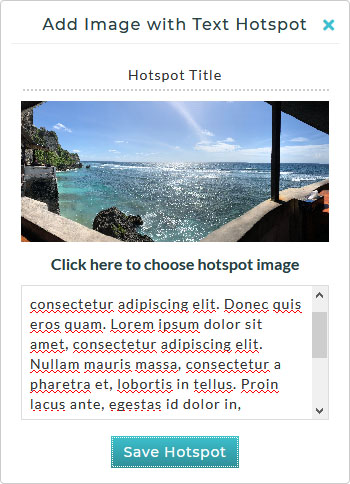
- Click on the Save Hotspot button when you are done.
Editing/Deleting
Both types of image hotspots may be edited or deleted anytime.
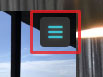
- click on the hotspot and the hotspot window will appear.
- Hover your cursor over the window, and you will see the Menu icon appears.
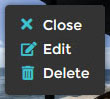
- Click on the Menu icon and you will see the Edit/Delete menu.
Upload Restrictions
Do note that when uploading scenes, each scene is limited to a maximum file size of 19 MB.
The following file types are accepted: .jpg, .jpeg, .png, .gif, .bmp, .tiff