In depth guide to everything on Panopedia
Instead of the default scene menu, you may upload a floorplan to help viewers navigate through your Panotour. This feature is only available for subscribers to select plans only.

To create a floorplan, edit your preferred Panotour and click on FloorPlans on the navigational menu. You may then choose to drag the file from a desktop folder onto the drop area, or you may click on it where a prompt shall open for to select the desired file.
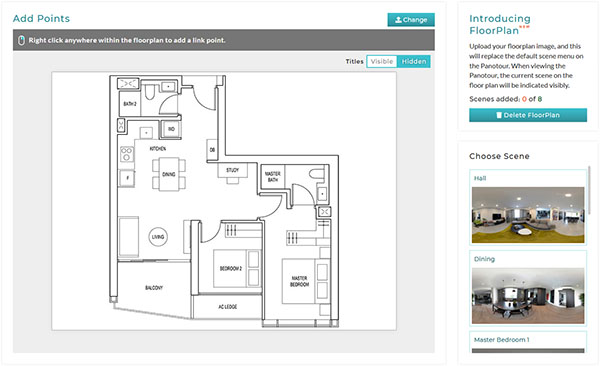
After you have uploaded the floorplan, you may create points that correspond to the location of each scene.
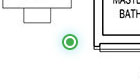
In the mapper window, depending on your device, you may right click or tap on anywhere within the uploaded floorplan image to create a point. When a point is created and not saved, it is indicated by being green in colour. The number of points you create is limited to the number of scenes you have.
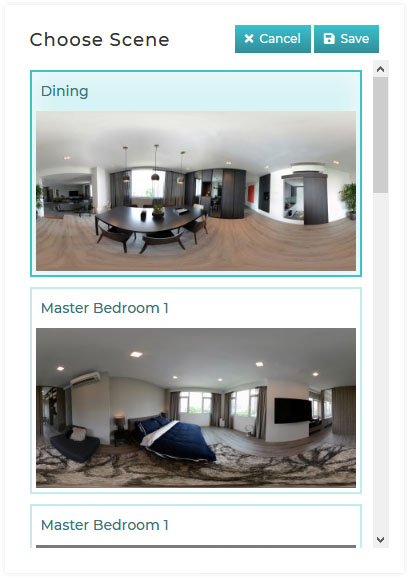
Choose the corresponding scene from the Choose Scene column on the right of the screen, followed by the Save button. You may cancel selection during this time by click on the Cancel button. Scenes selected cannot be selected again.
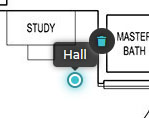
If you made a mistake at anytime, you may also delete the added point. To do so, hover your cursor over the point, the title will appear. Move your cursor over the title and click on the icon. You will be prompted to confirm the deletion.

While you are adding points, the number added against the total number of scenes is visible at the top right box of the window. Here you may see how many scenes have corresponding points on the floorplan, as well deleting the Floorplan entirely. If the floorplan is deleted, the navigation menu on the Panotour will reappear.

You may also replace the floorplan image at anytime, by clicking on the Change button to upload a new floorplan. This will replace the current floorplan, and all existing points will be deleted. Click on the FloorPlan button if you do not wish to do so.
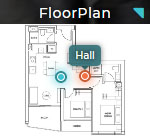
The moment your floorplan has been uploaded, it will replace the default scene menu in the same position at the bottom left corner of the Panotour. The current scene will be indicated by the point being orange in colour, and the title will always be visible above. The floorplan may be expanded at anytime by clicking on the FloorPlan title bar.
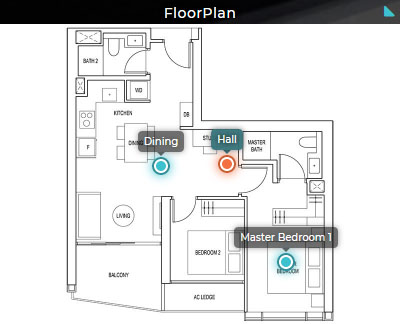
When the floorplan is in expanded mode, you have an option to have all the titles above the points to be always visible.

To enable default visibility, at your mapper window where you edit the points, there will be a toggle switch named Titles. Click on it to change the setting. Do note that even when the toggle switch is set to Visible, the titles will not show by default when the floorplan is in compact mode, but only in expanded mode.
Do note that when uploading a floorplan, the file is limited to a maximum file size of 19 MB.
The following file types are accepted: .jpg, .jpeg, .png, .gif, .bmp, .tiff